Introduction to bee Queen rearing: interesting facts
Bee Queen rearing

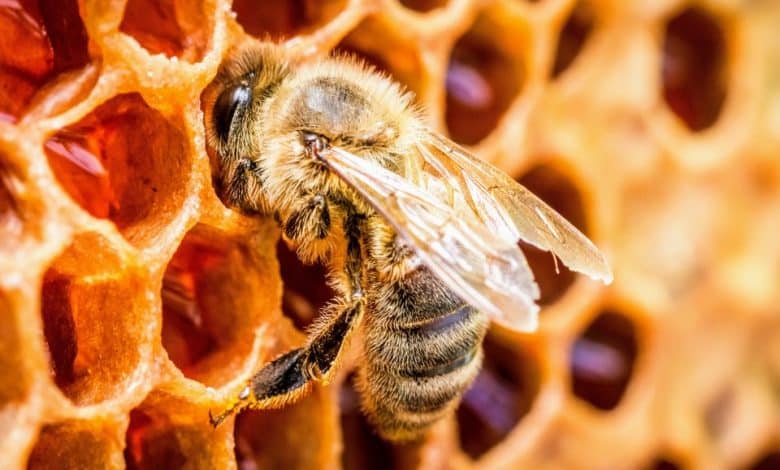
You are already aware of the tremendous benefits of replacing your queens at least every two years, including a decrease in swarming and an increase in honey production. You can, of course, purchase your queens from a trustworthy vendor, but you can also manufacture your own, and doing so is not at all difficult, saving money and increasing your love of beekeeping. Actually, if you just let your bees be, they’ll take care of it for you; they’ll create queen cells that are packed with healthy, virgin queens that you can utilize to replace your old queens.
But maybe this isn’t the best course of action here. It is uncontrollable, and you won’t know how many queen cells you’ll have until it really happens. Additionally, the cells may originate from hives with traits you don’t want to spread, including an excessive predisposition to swarm or to be hostile or foul-tempered. The majority of beekeepers think that regulated, planned, and straightforward queen rearing is a much better option than using queen cells like this in an emergency.

Queen rearing is what it sounds like. It does not necessarily refer to the practice of selecting specific features and breeding for them over numerous generations in order to create the “ideal” queen. This is done by certain beekeepers and research facilities in an effort to solve the varroa problem or to choose hygienic bees that will be resistant to American foulbrood (AFB), and this chapter’s last section does actually discuss selective breeding. However, in the first section of this chapter, we only focus on how to easily and consistently generate your queens, ideally from colonies that are well-mannered and robust (so that just a tiny amount of ‘breeding’ enters the picture).
SELECTING THE SEASON TO RE-QUEEN
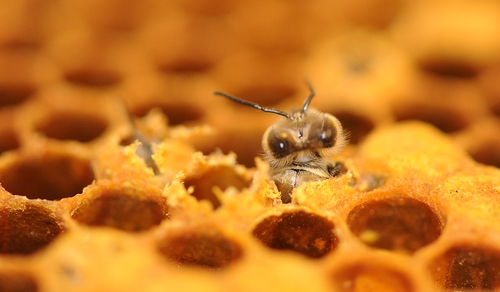
You should choose the time of year you want to re-queen your hives before you start raising your own queens. The two options are autumn or spring, and chapters 6 and 7 address the relative benefits of each season. However, you must always remember that timing is everything in queen rearing. Once the procedure has begun, you must adhere strictly to a schedule for several weeks. Don’t start if you can’t be there at the right times for some reason.
IF you are interested in bee queen rearing read The Doolittle Method for Raising Queen Bees.
QUEEN REARING: The outline
The four stages of queen rearing are as follows. The larvae must first be ready for an introduction to the hive-rearing units. This entails either letting the bees select their own larvae or grafting larvae from your chosen colony that are about 24 hours old onto plastic or manufactured wax cells. As an alternative, you may use a kit for raising queens, which involves trapping the queen on a comb in a cage while she lays her eggs in ready-made plastic cells. Then, these eggs are taken out and given to a unit that raises queens.
ASSEMBLING THE LARCHES
On the first point, the beekeeper chooses larvae from the selected colony, deposits them in commercial or homemade wax cells, and then hangs a frame bar downwards (as nature intended) on them in a queenless colony that is abundant in nurse bees. Because they lack a queen, the bees will recognize these cells as “queen cups” and will draw the larvae inside them out into separate cells while feeding and caring for the queen cells. You will discover a tidy row of queen cells hanging there after a few days. You are aware of their history and their exact age.
thank you for you interest in our article, also check our article about The interesting tour inside the beehive: what can we see in the bee colony.


